New Technology File System (NTFS) is the proprietary file system standard for Windows operating systems. While it is the primary system for data organization on Windows machines, Linux systems offer support for mounting and interacting with NTFS partitions.
In most modern Linux installations, disks are automatically mounted. However, in dual-boot environments (where the seamless exchange of files between the Windows and Linux systems is required), it is often necessary to manually mount the NTFS partitions to ensure proper read/write access.
This article shows how to mount an NTFS partition in Linux with read-only or read-and-write permissions.
Prerequisites
- A system running Linux.
- A user account with
sudoorrootprivileges. - Command-line access.
Mount NTFS Partition with Read-Only Permission
Follow the steps below to mount an NTFS partition with read-only access. This operation allows the user to safely view and retrieve files from the NTFS volume without risking accidental alteration, corruption, or deletion of data on the Windows partition.
Note: A read-only partition allows users to read files. To enable writing to an NTFS partition, refer to the second section of the article.
Identify NTFS Partition
Before mounting an NTFS partition, identify it by using the parted command:
sudo parted -l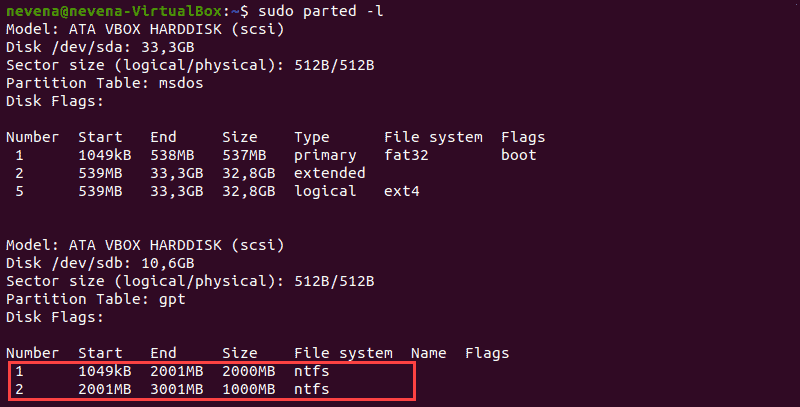
In the example above, two NTFS partitions are on the /dev/sdb disk. Note the partition number you want to mount before proceeding.
Use the fdisk and grep commands to show only NTFS partitions on a disk:
sudo fdisk -l | grep NTFSCreate Mount Point and Mount NTFS Partition
The following example mounts the /dev/sdb1 partition with read-only permission:
1. Create the mount point with the mkdir command.
sudo mkdir /mnt/ntfs12. Mount the partition to the created directory. Use the mount command and the partition path noted earlier:
sudo mount -t ntfs /dev/sdb1 /mnt/ntfs1Use the disk free tool to check the details of all filesystems and verify the partition was mounted successfully:
df -hT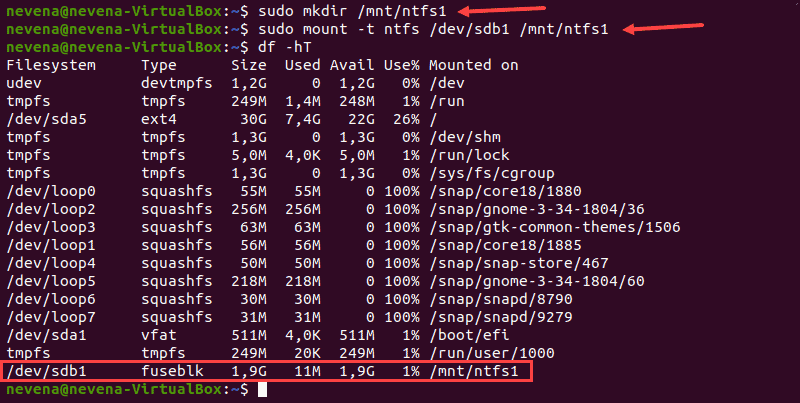
The /dev/sdb1 partition shows as mounted at the bottom of the list, and the user has read-only access.
Mount NTFS Partition with Read-and-Write Permissions
To mount an NTFS partition with read-and-write permissions, you need to install the fuse and ntfs-3 on the system.
Follow the steps below to complete the mounting process.
Note: Some Linux distributions may have the fuse and ntfs-3g packages already installed by default.
Update Package Repositories
Run the following command to download and update the package repositories:
sudo apt update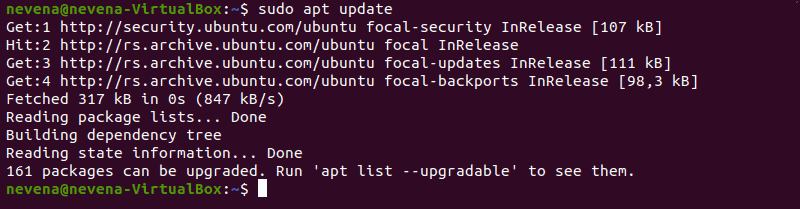
Install Fuse and ntfs-3g
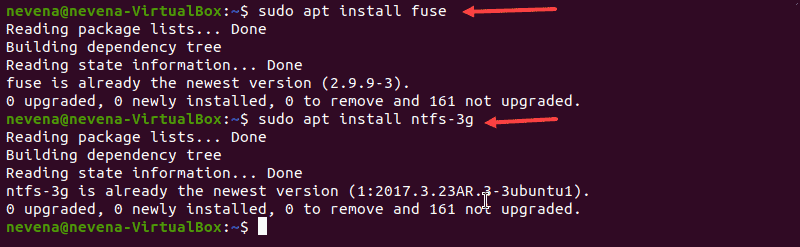
To install fuse on a Linux system from the default repository, use the appropriate package manager. The example uses apt in Ubuntu.
sudo apt install fuseWhen the installation completes, install ntfs-3g by running:
sudo apt install ntfs-3gIn case both fuse and ntfs-3g are already installed, the output looks similar to the one below:
Mount NTFS Partition
After installing the necessary packages, mount a NTFS partition by following the steps below:
1. Create a mount point by using the mkdir command :
sudo mkdir /mnt/ntfs2 2. Use the mount command to mount the partition you want. For example, enter the following command to mount /dev/sdb2:
sudo mount -t ntfs-3g /dev/sdb2 /mnt/ntfs2/3. Check if the partition is mounted by running the df command:
df -hT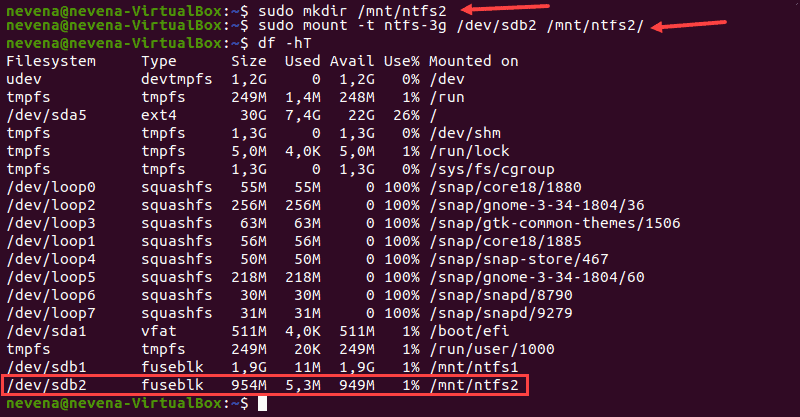
The output shows the user has the read/write permissions for the mounted NTFS partition.
Note: Linux kernel version 2.6.20 or newer is recommended for mounting a partition via ntfs-3g. Learn how to update the kernel on Ubuntu or how to update the kernel on CentOS.
Conclusion
After reading this article, you know how to mount an NTFS partition. Partition manipulation is an important part of administering a Linux system.
Next, we recommend learning how to delete a partition in Linux and how to format disk partitions in Linux.