winget is an open-source Windows package manager designed by Microsoft for Windows 10 and Windows 11. The client installs and manages applications using a CLI, similar to the apt package manager in Linux.
In this tutorial, you will learn to install and use the winget package manager for Windows.
Prerequisites
- A computer running Windows 10 or 11.
- Administrator privileges.
- A network connection.
How to Install winget
There are two ways to install winget:
- From the Microsoft Store.
- Manually, using a package installer from GitHub.
Note: The winget client requires Windows 10 1809 (build 17763) or newer. Windows Server 2019 isn't supported because the Microsoft Store and other dependencies are not available for Windows Server.
If you are already running Windows 10 1809 or newer, the client may already be available on your system. Check if winget is available by invoking the winget command in the Command Prompt or PowerShell:
1. Open the Windows Start menu, type powershell, and press Enter.
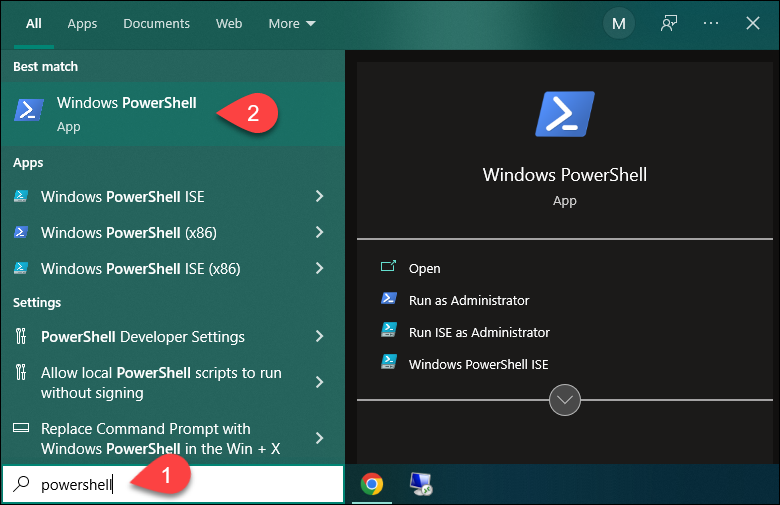
2. In the PowerShell, run winget to check if the app is installed:

In the example above, invoking the command states that winget is not recognized, which means it isn't installed on the system.
Method 1: Install winget via Microsoft Store
Follow the steps below to install winget from the Microsoft Store:
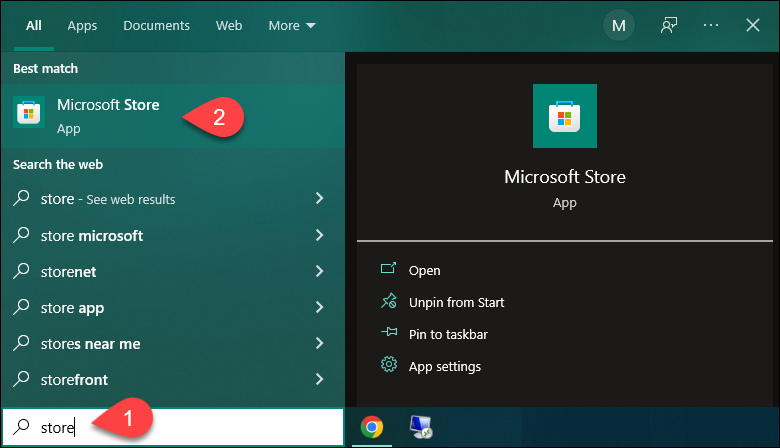
1. Open the Windows Start menu, type store, and press Enter to open the Microsoft Store app.
2. In the search bar, type winget and press Enter. In the results, click the App Installer application.
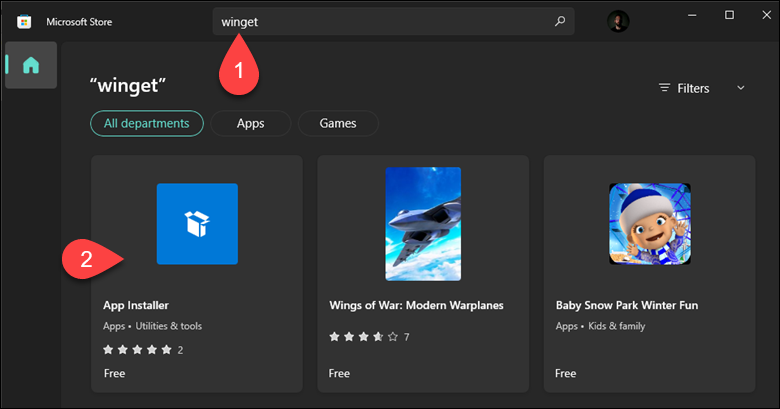
Note: The winget client is distributed within the App Installer package.
3. On the App Installer page, click Get to install the app.
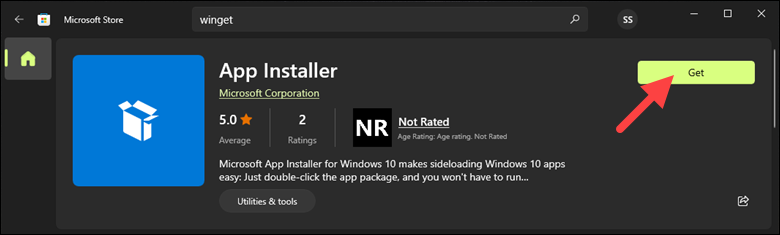
Wait for the installation to finish.
4. Verify the installation by invoking winget in Windows PowerShell or the Command Prompt:

The command prints the program version, syntax, and available options.
Method 2: Install winget via GitHub
Another way to install winget is by downloading the installer from GitHub. Follow the steps below:
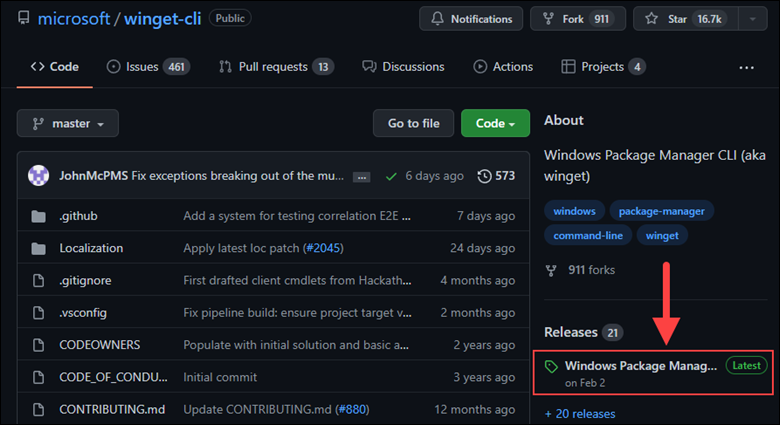
1. Navigate to the winget GitHub page.
2. Under the Releases section, click the latest available release.
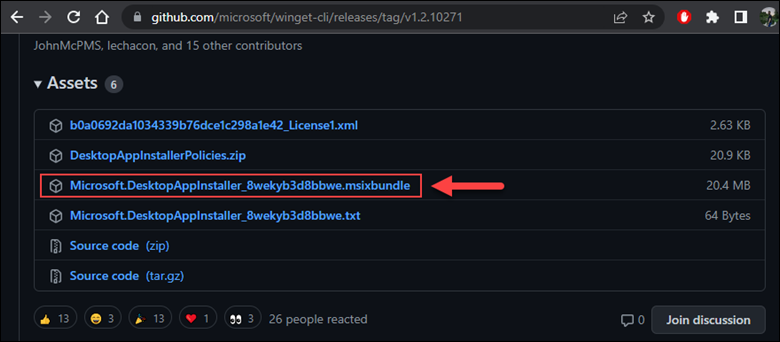
3. On the Version page, scroll down to the Assets section and click the .msixbundle file to start the download.
4. Run the downloaded file and click Update:
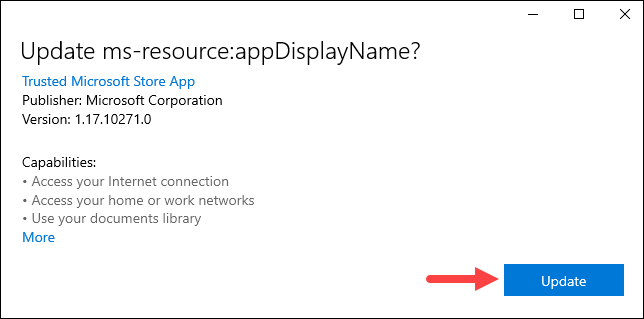
Wait for the installation process to finish. The app may automatically install additional dependencies required for winget to work.
5. Verify the installation by running winget in PowerShell or Command Prompt.
How to Use winget
The winget client allows you to search, install, update, and remove packages. This section shows how to manage packages with winget.
The first time you use winget, a prompt appears asking if you agree to Microsoft's transaction terms. This is because the Microsoft Store repository requires your geographic region to function correctly.
Read the terms, and if you agree, type y and press Enter to confirm.
Install Packages
Install a package with winget using the following syntax:
winget install [package_name]For [package_name], specify the exact application ID. In the following example, we instruct winget to install Notepad++, and winget prompts for the app ID since Notepad++ is available in two repositories.

After specifying the exact application ID, winget automatically downloads and installs Notepad++.

Note: Learn how to update installed packages using winget upgrade.
Search for Packages
Use winget to search for available packages in the public Windows Package Manager Community repository or in the Microsoft Store. The syntax is:
winget search [package_name]In the following example, we search for the MySQL server:
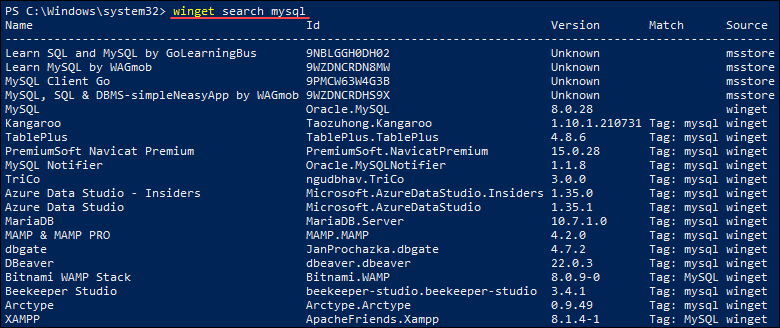
The output is a list of all available packages containing the mysql keyword.
Show Package Details
Display information about installed packages using the following command:
winget show [package_name]For example:
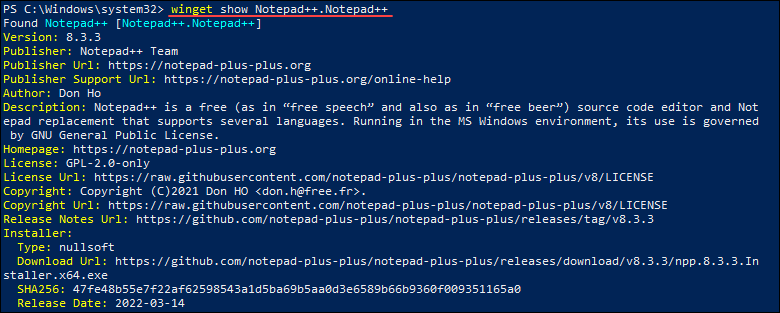
The output shows the specified app information, including the program version, publisher, author, and program description.
Manage Sources
winget installs packages from online repositories. The two official winget repositories are:
msstore. The Microsoft Store repository.winget. Thewingetsoftware repository maintained by Microsoft.
Use the winget source command to add, remove, list, or update the repositories.
1. List Repositories
See which repositories winget is using by running:
winget source list
The output shows a list of repositories currently in use.
2. Add Repository
Add a third-party repository to winget using the add subcommand. The syntax is:
winget source add --name [name] [url]For [name], specify the name you want for the repository, and for [url], specify the repository URL.
For example:

In this example, we have added the official winget repository.
3. Update Repositories
Force an update to the existing repositories using the update subcommand. Run:
winget source update
The command updates the existing repositories with the latest package information.
4. Remove a Repository
Remove a repository from winget using the remove subcommand. The syntax is:
winget source remove --name [name]For example:

The specified repository is automatically removed.
5. Reset winget Sources
Use the reset --force subcommand to reset winget back to its original configuration, removing all third-party repositories and setting the sources to the default ones.
For example:
winget source reset --force
List Packages
See a list of all installed packages using the list option. Run:
winget list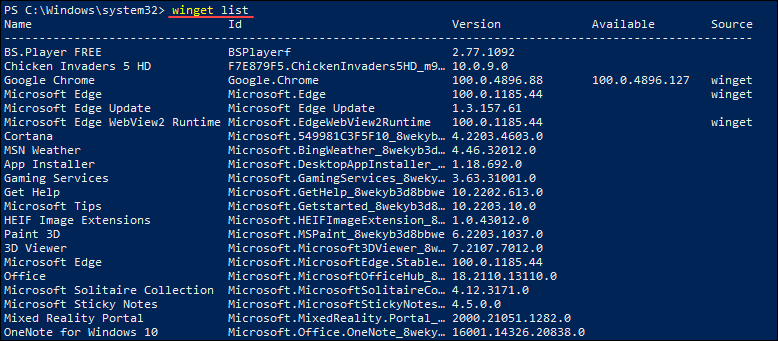
In the example above, the output includes the list of installed applications, including the application ID, version, and available updates.
Uninstall Packages
Uninstall an application using the uninstall option. The syntax is:
winget uninstall package_nameFor example:

Conclusion
This tutorial showed how to install and use the winget package manager on Windows. Use winget to automate package management, installation, and configuration, while keeping your apps up to date and system secure.