Apache Maven is a build-automation tool designed to provide a comprehensive and easy-to-use way of developing Java applications. It uses a POM (Project Object Model) approach to create a standardized development environment for multiple teams.
In this tutorial, we will show you how to install Apache Maven on a system running Windows.
Prerequisites
- A system running Windows.
- A working Internet connection.
- Access to an account with administrator privileges.
- Access to the command prompt.
- A copy of Java installed and ready to use, with the JAVA_HOME environment variable set up (learn how to set up the JAVA_HOME environment variable in our guide to installing Java on Windows).
How to Install Maven on Windows
Follow the steps outlined below to install Apache Maven on Windows.
Step 1: Download Maven Zip File and Extract
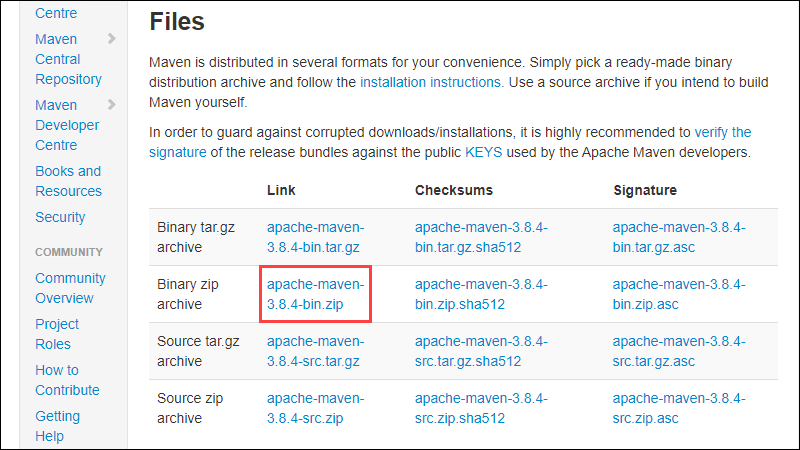
1. Visit the Maven download page and download the version of Maven you want to install. The Files section contains the archives of the latest version. Access earlier versions using the archives link in the Previous Releases section.
2. Click on the appropriate link to download the binary zip archive of the latest version of Maven. As of the time of writing this tutorial, that is version 3.8.4.
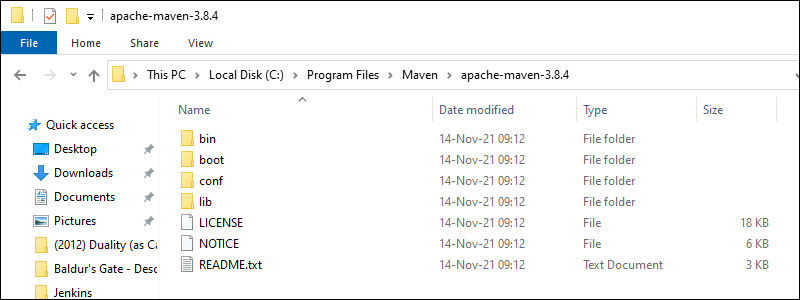
3. Since there is no installation process, extract the Maven archive to a directory of your choice once the download is complete. For this tutorial, we are using C:\Program Files\Maven\apache-maven-3.8.4.
Step 2: Add MAVEN_HOME System Variable
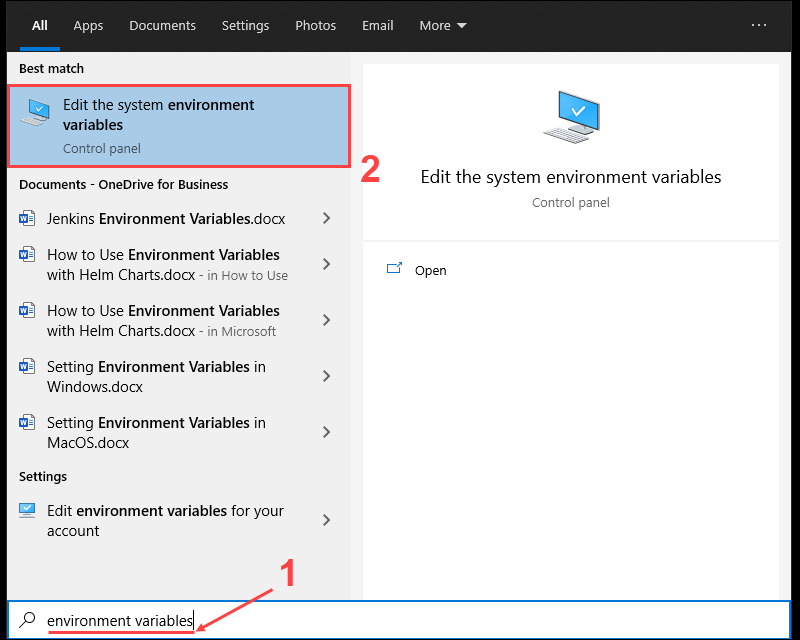
1. Open the Start menu and search for environment variables.
2. Click the Edit the system environment variables result.
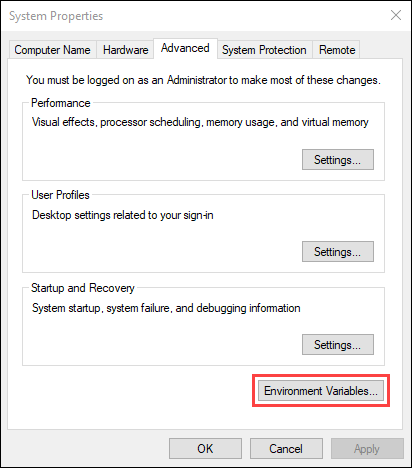
3. Under the Advanced tab in the System Properties window, click Environment Variables.
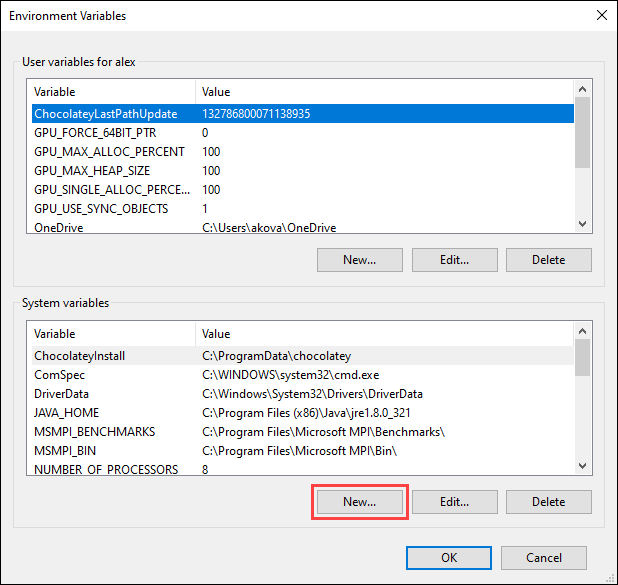
4. Click the New button under the System variables section to add a new system environment variable.
5. Enter MAVEN_HOME as the variable name and the path to the Maven directory as the variable value. Click OK to save the new system variable.

Step 3: Add MAVEN_HOME Directory in PATH Variable
1. Select the Path variable under the System variables section in the Environment Variables window. Click the Edit button to edit the variable.
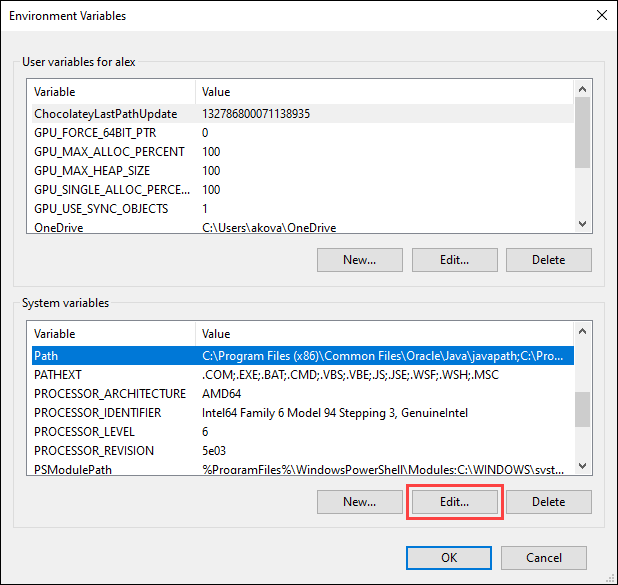
2. Click the New button in the Edit environment variable window.
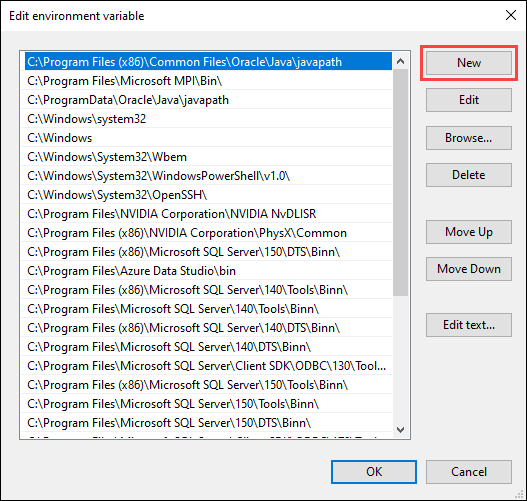
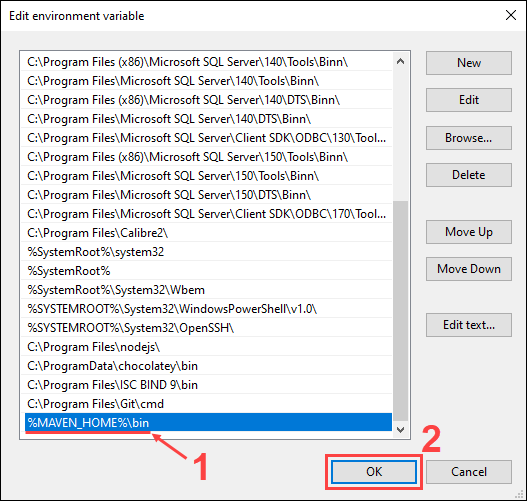
3. Enter %MAVEN_HOME%\bin in the new field. Click OK to save changes to the Path variable.
Note: Not adding the path to the Maven home directory to the Path variable causes the 'mvn' is not recognized as an internal or external command, operable program or batch file error when using the mvn command.
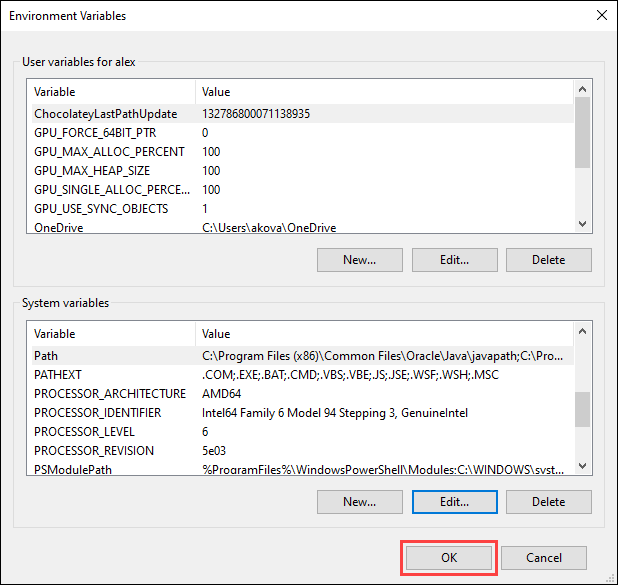
4. Click OK in the Environment Variables window to save the changes to the system variables.
Step 4: Verify Maven Installation
In the command prompt, use the following command to verify the installation by checking the current version of Maven:
mvn -version
Conclusion
After reading this tutorial, you should have a copy of Maven installed and ready to use on your Windows system.
