Docker images are immutable, i.e., their structure and contents cannot be altered after the build process finishes. However, if you want to make adjustments to a Dockerized app, run a container from the image, make the changes inside the container, and commit them to a new Docker image.
In this tutorial, you will learn how to use docker commit to create an image based on a container.
Prerequisites
- Docker installed (Ubuntu, Rocky Linux, macOS).
- Command-line access.
- Administrative privileges.
docker commit Command
The docker commit command allows users to create a new Docker image based on the contents of a container. The new image comprises the base image and a layer containing modifications made inside the container.
The following sections provide details about docker commit and compare it to docker push, a related image distribution command.
docker commit Syntax
The docker commit command uses the following syntax:
docker commit [options] [container-id-or-name] [image-name]:[tag]The [tag] part of the command is optional. If you create an image without a tag, Docker defaults to latest.
The command accepts the options listed in the table below:
| Option | Description |
|---|---|
-a, --author | Include the name of the image author. |
-c, --change | Apply a Dockerfile instruction to the new image. Supported instructions are CMD, ENTRYPOINT, ENV, EXPOSE, LABEL, ONBUILD, USER, VOLUME, and WORKDIR. |
-m, --message | Include a custom message with the image. |
-p, --pause | Pause the container during the commit operation. If the option is not specified, the command assumes the value is true. |
Note: The docker commit command is an alias of docker container commit. The two commands are interchangeable.
docker commit vs. docker push
While frequently used together, docker commit and docker push serve different functions. The docker commit command creates a Docker image, and docker push uploads it to a registry to simplify distribution.
The table below compares the commands:
| docker commit | docker push | |
|---|---|---|
| Function | Creates an image from a container and saves it locally. | Uploads a local image to a remote registry. |
| Basic Syntax | docker commit [container] [image]:[tag] | docker push [registry]/[image]:[tag] |
| Other Aliases | docker container commit | docker image push |
| Use Case | Helps create image templates and iterate application versions. | Enables sharing of the new image by making it readily available to remote team members. |
Note: The commit operation transfers the modifications made to the base image but does not include data created by the application, such as Docker volume contents.
How to Commit Changes to a New Docker Image
The steps you must take to create a Docker image based on another image involve:
- Running a container from the base image.
- Making the necessary changes in the container.
- Committing the changes to a new image.
Follow the steps below to create a new Docker image using docker commit:
1. Use docker run with the -it flag to launch a container in the interactive mode and enable a terminal typing interface. Specify the interface shell as the last command argument.
docker run -it [image] [shell]For example, to run a container based on the latest Ubuntu image and use a Bash shell to navigate it, type:
docker run -it ubuntu /bin/bashDocker launches the container and opens a shell prompt inside it.

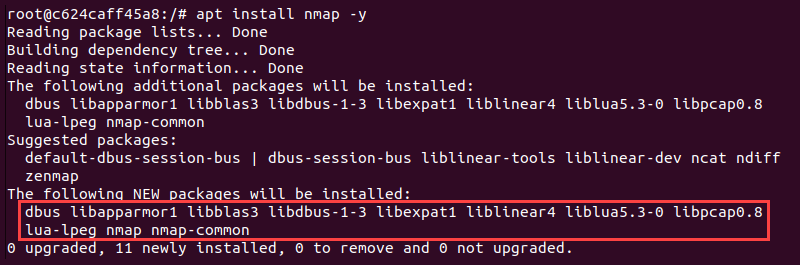
2. Modify the image according to your needs. The following example uses APT to install Nmap, a network discovery and security auditing tool:
apt install nmap -yThe command downloads the necessary packages and installs them inside the running container.
3. Once you finish with the modifications, exit the container:
exitThe container stops, and the terminal returns to the operating system's shell.

4. List all Docker containers on the system:
docker ps -a5. Locate and copy the ID of the container you modified.

6. Commit the changes to a new image by typing:
docker commit [container-id] [new-image-name]For example, the command below creates an image named ubuntu-with-nmap:
docker commit c624caff45a8 ubuntu-with-nmapIf the operation is successful, the output displays the sha256 hash value of the image ID.

7. Verify that the image has been created by listing the locally available images:
docker images
The new image appears on the list.
When to Commit Changes to a New Docker Image
There are two main reasons to use docker commit for creating new image versions:
- Generating image templates. For example, if you always use a specific set of tools on Ubuntu, you can run an Ubuntu container, install the tools, and commit the changes to create a template image for future use.
- Creating quick application iterations. For example, when testing an application, you can make fixes and tweaks inside a container and then commit them to an image for sharing with a team or performing further testing.
Conclusion
After reading this tutorial, you should know how to commit changes to a Docker image. The article covered the syntax and options of the docker commit command, described creating a new image from a container, and mentioned frequent use cases.
If you are interested in Docker, read our tutorial on how to set up and use a Private Docker Registry.